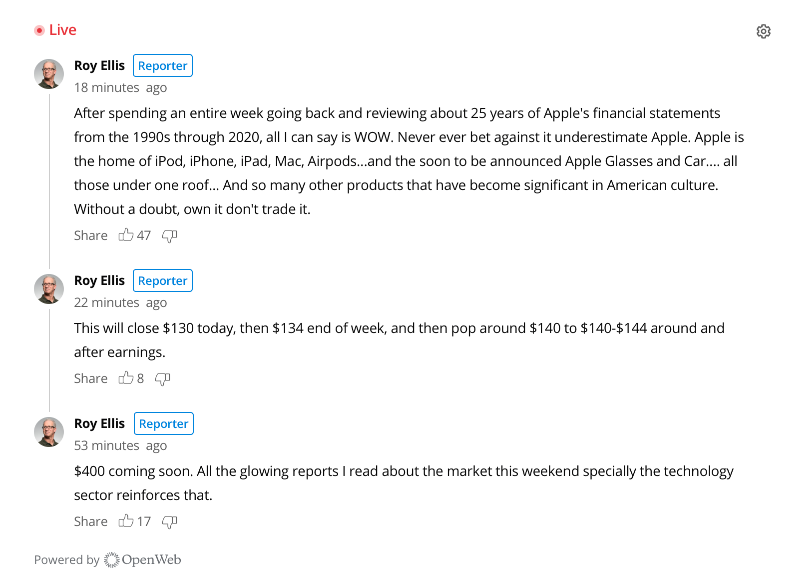
Live Blog
Our Live Blog is optimized for SEO, boosting the search performance of your real-time reporting and conversations. The product also allows you to embed links, tweets, videos and more.

Live Blog
Create a Live Blog
Use the following steps to create a Live Blog to your site:
- From your OpenWeb Admin Panel, click Features > LIVE BLOG. The Live Blog page appears.
- Click Create Event. The Create an Event popup window appears.
- Enter the Event Details. All fields are required.
- Click Save & Continue.
- Under Assign Reporters, select Username or Email from the dropdown menu.
- Type the username or email of a registered user to assign that person as a reporter who can manage and post updates on the event. If you type the email of a registered user, you must press the Enter key on your keyboard before you can assign that person as a reporter.
You can select multiple registered users to be reporters for an event.You can also Assign reporters from the Suggestions from your team section. All teammates with the role of Admin or Journalist are listed.
- Click Save & Continue.
- Use the standard approach to embed the Live Blog that has been created.
Implementation Options
OpenWeb provides you the approaches to add a Live Blog to your site. Each is listed in the following table.
| Approach | Description |
|---|---|
| Standard | Enables embedding a Live Blog for all non-AMP pages |
Standard
Use the following steps to embed a Live Blog:
- In the Embed Code section, choose This is the only OpenWeb product used on the page or There are other OpenWeb products used on the page from the dropdown menu.
- Click Copy to copy the embed code to your clipboard. You should paste the embed code where the event updates should appear on your page.
- Click Finish.
- (Optional) Add launcher code parameters to configure Live Blog user experience.
Live Blog Launcher Code Attributes
The following launcher code attributes apply only Live Blog implementations. You can also add one of the general launcher code attributes.
| Attribute | Description |
|---|---|
| data-live-event-code boolean | Live Blog event code generated in your Admin Dashboard |
| data-live-blog boolean | Enables Live Blog on the conversation
Default: false
|
| data-seo-enabled boolean | Controls if OpenWeb makes an API call to the SEO API when a page is rendering and embeds the SEO markup into the HTML of your page
OpenWeb recommends a backend integration for improved indexing results. |
Manage Live Blogs
After you have created the Live Blog event, you can edit, duplicate or delete the event from your Admin Panel.

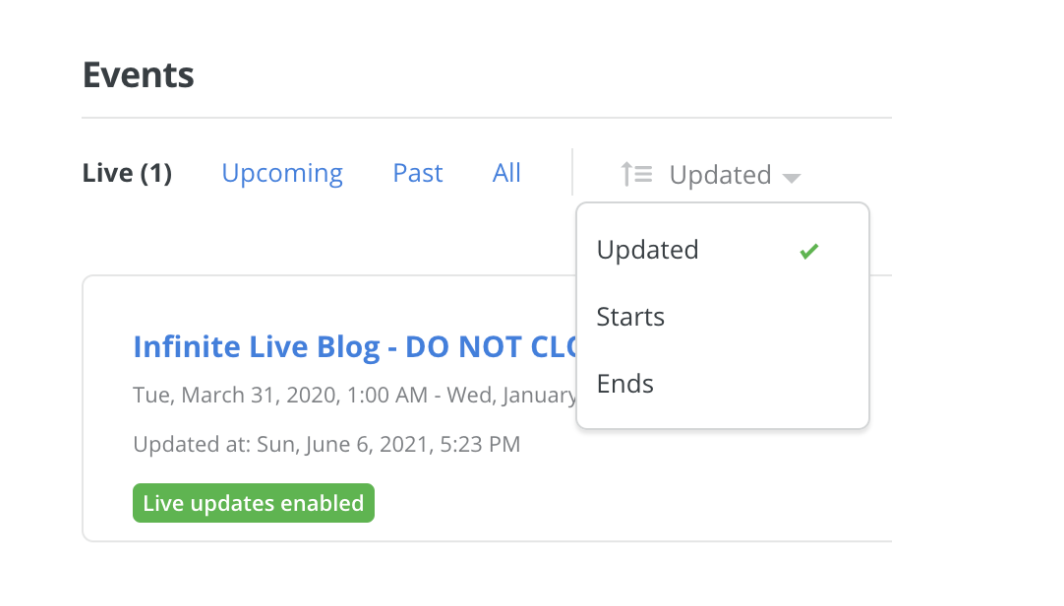
Events section of Live Blogs
Edit an existing event
- From your OpenWeb Admin Panel, click Features > LIVE BLOG. The Live Blog page appears.
- Under Events, locate the Live Blog event under Live, Upcoming, Past, or All.
You can sort the events by last Updated, when the event Starts, or when the event Ends.
- Click Edit on the Live Blog event title. A pop-up screen appears.
- Edit the Event Details or Reporters.
- Click Save.
Duplicate an event
- From your OpenWeb Admin Panel, click Features > LIVE BLOG. The Live Blog page appears.
- Under Events, locate an existing Live Blog event under Live, Upcoming, Past, or All.
You can sort the events by last Updated, when the event Starts, or when the event Ends.
- On the Live Blog event tile, click ▼ > Duplicate. A pop-up window appears.
- Enter a Descriptive name. This is the title of the new event.
- Choose when the event Starts and Ends.
- Click Save & Continue.
- Under Assign Reporters, type the usernames or emails of reporters who can manage the event and post updates on the event.
- Click Save & Continue.
- Click Copy to copy the embed code to your clipboard. You should paste the embed code where the event updates should appear on your page.
- Click Finish.
Delete an existing event
- From your OpenWeb Admin Panel, click Features > LIVE BLOG. The Live Blog page appears.
- Under Events, locate the Live Blog event under Live, Upcoming, Past, or All.
You can sort the events by last Updated, when the event Starts, or when the event Ends.
- On the Live Blog event tile, click ▼ > Delete. The Delete Event pop-up window appears.
- Click Delete. The event is deleted.
Updated 3 months ago
