
Getting Started
Learn about and implement the library at the core of each OpenWeb product
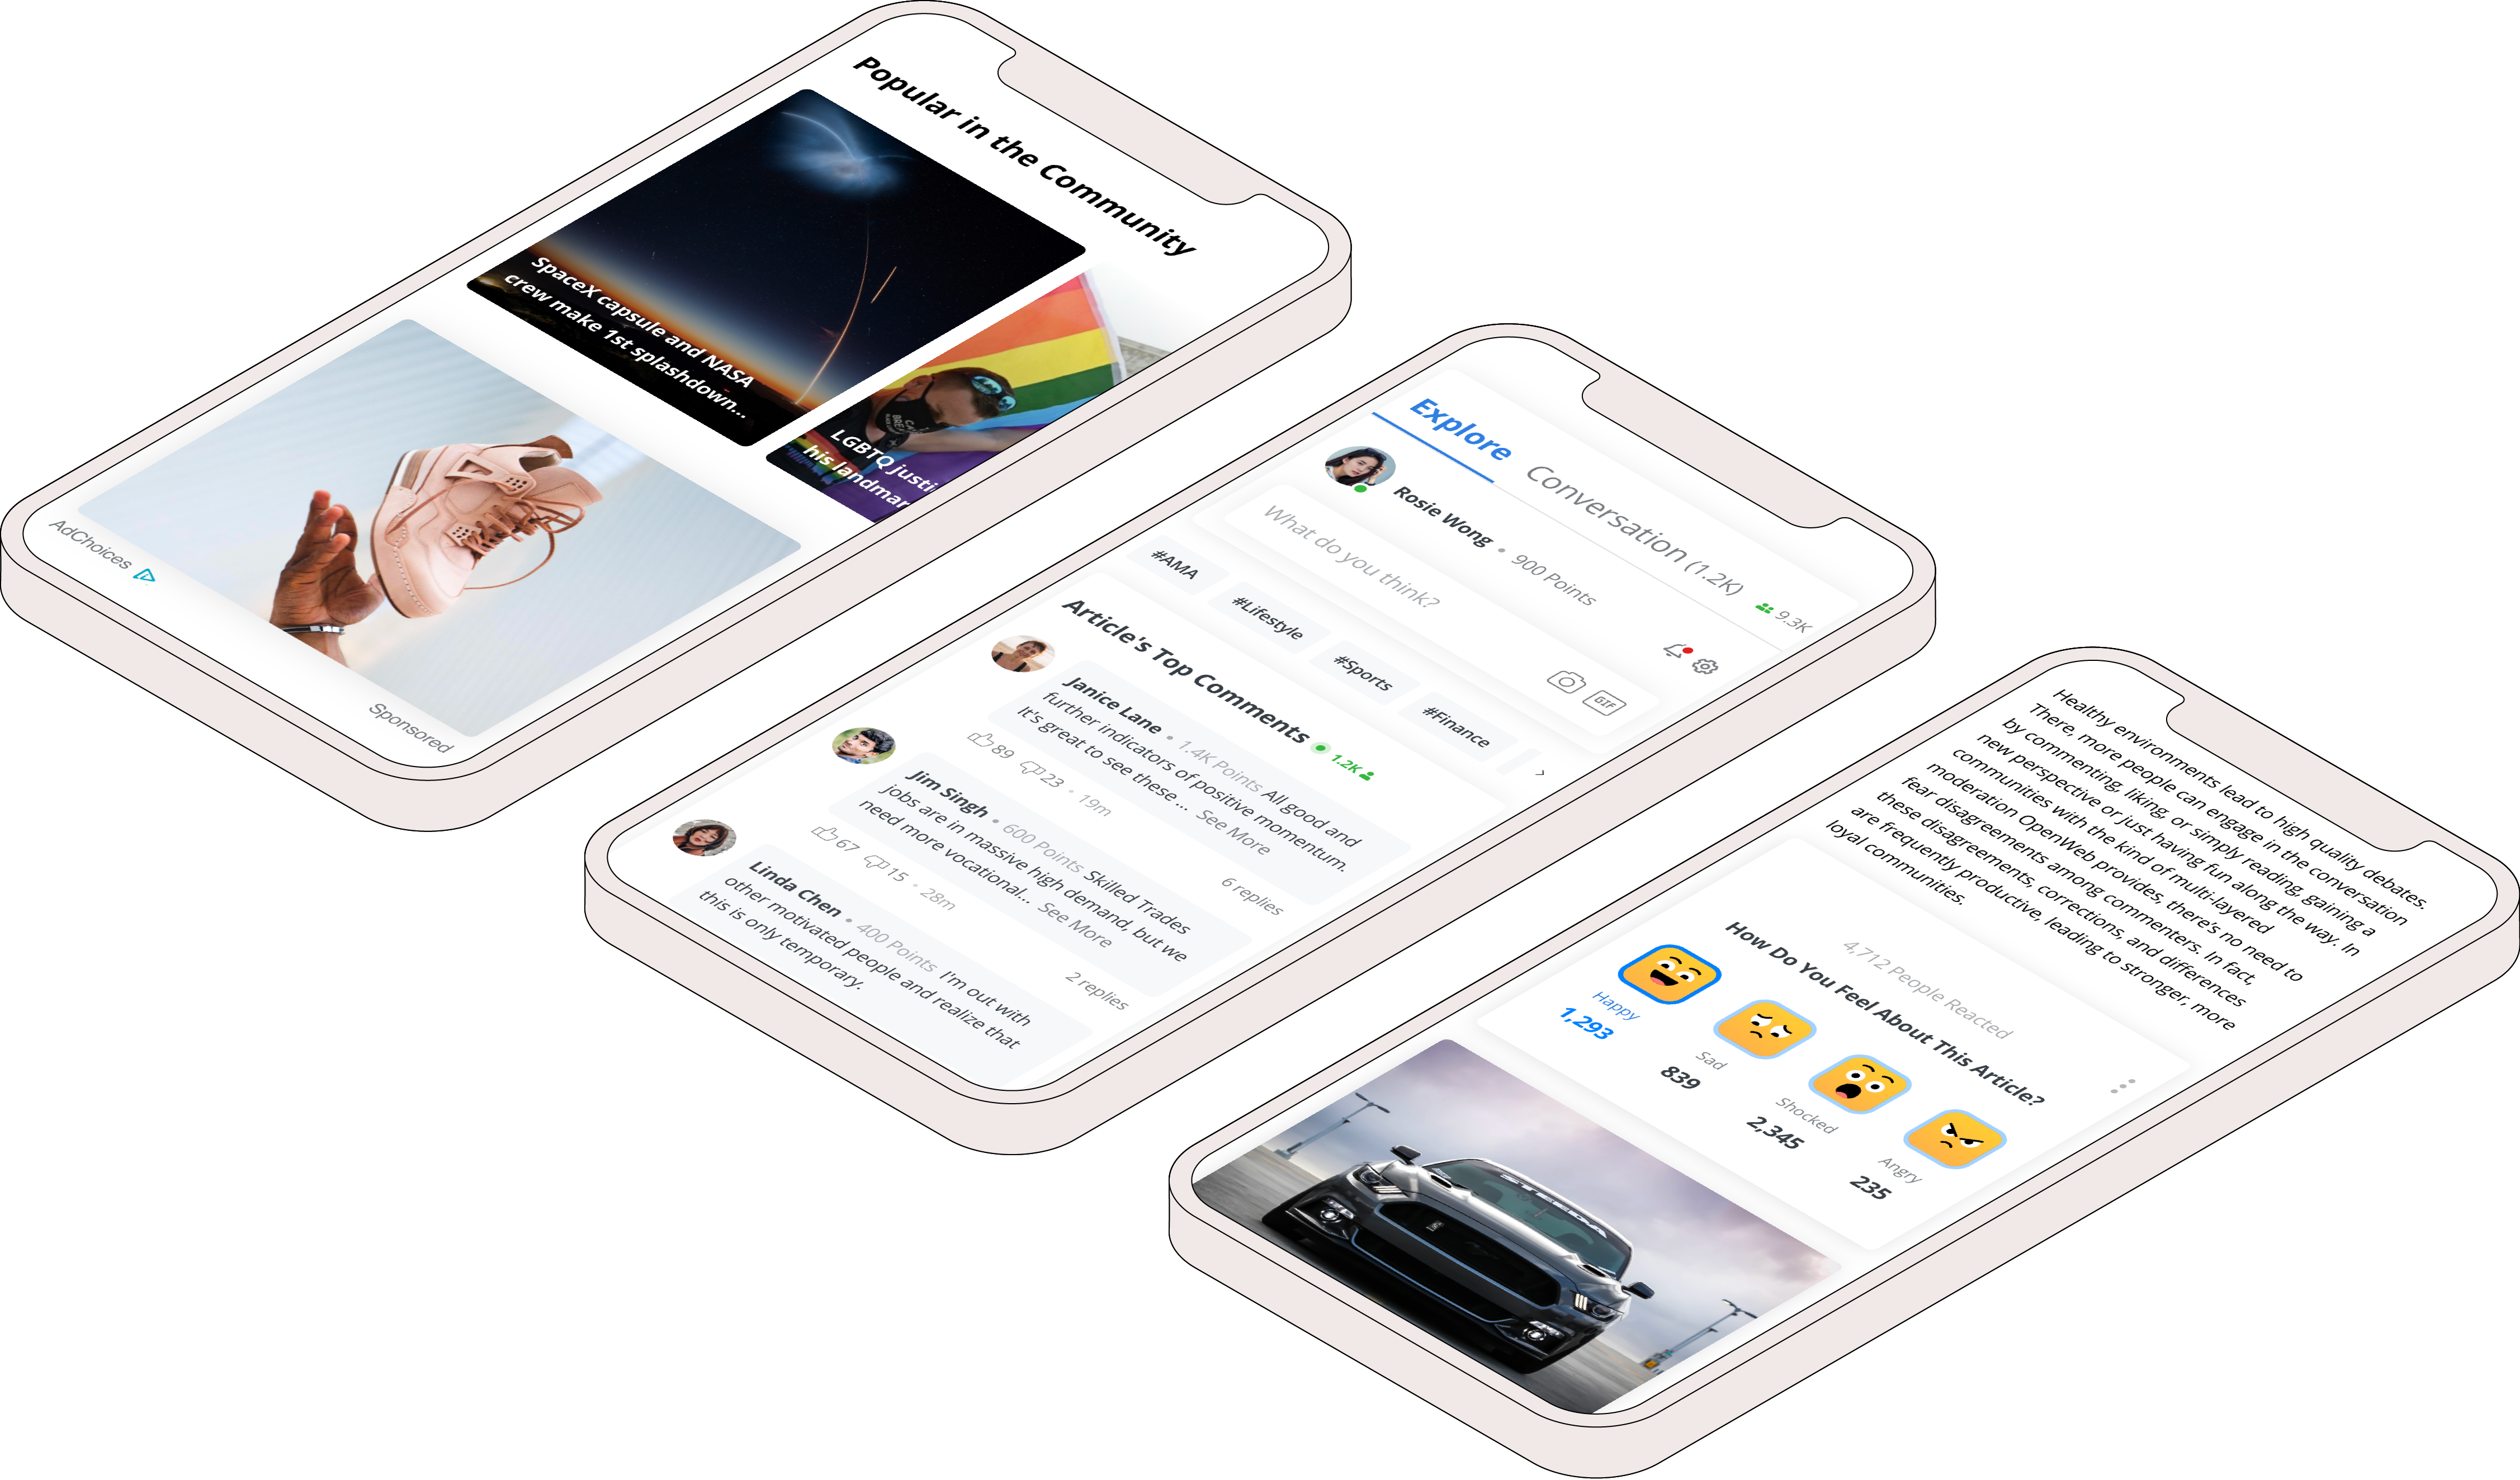
Welcome to OpenWeb!
OpenWeb is your unified, end-to-end suite for building a community.
The first step to implementing any OpenWeb product is the launcher code. The launcher code is a JavaScript library that enables and configures OpenWeb products and features on your pages:
- Configuring when products and features load
- Navigating users to a specific thread from a notification or a shared link
- Embedding multiple instances of products on an infinite scroll page with multiple articles
- Defining topics for products, such as Popular in the Community, Reactions, and Topic Tracker
OpenWeb no longer supports AMP for ads. Please disregard any legacy references, and consult the latest documentation for supported frameworks.
Prerequisites
| Item | Description |
|---|---|
| Spot ID | When you log into your OpenWeb Admin Portal, you can copy your Spot ID from the URL: |
| Post ID | Unique article identifier that is specific to the article page The ideal POST_ID has the following characteristics:
|
Add the launcher code to your site
The Launcher code should not be lazy-loaded or otherwise deferred to ensure the correct behavior of OpenWeb products:
- Navigating users directly to the conversation from a notification
- Accurate analytics
- Monetization opportunities
OpenWeb optimizes the loading of its different components to negate any impact on page load performance while maintaining a streamlined user experience.
Follow these steps to add the launcher code to your site:
- In the
<head>element of your page, add the launcher code to your page.<script async src="https://launcher.spot.im/spot/SPOT_ID" data-post-id="POST_ID"> </script> - (Optional) Define the theme of the products on the page (data-theme).
- (Optional) Define a custom reporting parameter (data-custom).
You can now add and customize your OpenWeb products.
Launcher code attributes
Depending on the product or feature you want to add to your site, you can add attributes to the launcher code that enhance the experience for your users. The following sections list and describe product-related launcher code attributes.
Updated 8 months ago